The sun is shining, the birds are chirping, and the ice is thawing – do you know what that means? It’s about time to de-winterize your RV! Keep in mind that Canadian weather can be very unpredictable. One day it might be sunny and +20°C and the next day we could have 10 inches of snow! Before you start the process of de-winterizing your RV, it’s best to wait until the last snowstorm of the year has passed. Mid to late April is generally a safe bet and it’s just in time for a May long weekend trip! It’s crucial to de-winterize your RV to reverse the winterizing process and get your RV all set for your next trip. The process of de-winterizing your RV includes many important steps so it’s a good idea to set aside a few hours. This will ensure you aren’t rushing to de-winterize your trailer right before your trip which may cause you to miss a crucial step in the process. As a general rule of thumb, you’ll also want to de-winterize your RV 3-4 weeks prior to your first trip of the year. This means you better get a move on if you’re aiming for May long weekend! In this article, we’re sharing a complete checklist of everything you’ll need to do to de-winterize your trailer. Are you ready to get started? Let’s dive in!
Examine & Repair Your RV Exterior
The exterior of your trailer is a great place to start the de-winterizing process. Heavy snow and ice can be very damaging to the exterior of RVs, so it’s important to check for common damage before you hit the road. This is especially important when it comes to cracks and leaks. A leak in your trailer’s exterior can lead to many unpleasant problems down the line, such as wet insulation and mould. Here are the steps you should take when inspecting your RV’s exterior:
- Check all vents, windows, compartments, and doors for cracked caulking and be sure to replace any caulking that is cracked or peeling.
- Take a look at the seams of all your slides and replace the seals if necessary.
- Extend your awning, check for any damage at the end of the awning rail, give your awning a good rinse, and leave it out to dry.
- Look for signs of water damage especially on the roof. You’ll want to pay attention to cracks in the seams that may have been caused by heavy snowfall.
- Inspect your hitch for rust and damage and replace any broken parts.
- Check all of your exterior lights (brake lights, turn signals, running lights) and replace any bulbs that have burnt out.
Check & Reinflate Your Tires
 Did you know that RV tires lose about 2-3 psi of air pressure each month they are in storage? It’s very important to check your tire pressure before your next trip to avoid poor handling and uneven wear the next time you drive your RV. Additionally, tires with the correct amount of air pressure will also last longer and contribute to your family’s safety. The last thing you want is to blow out a tire on the way to your camping destination and risk getting in an accident! That’s a surefire way to ruin a trip fast. You can easily avoid all of these issues by taking a few minutes to check your RV tires. Here’s what you’ll need to do to get your tires ready for the road:
- Find out the manufacturer’s recommendations for your tire pressure based on your load.
- Use a tire pressure gauge to check the air pressure of your tires.
- Inflate your tires to the specified pressure.
- Check your tires for any tread deformities and uneven wear and purchase new tires if your tires are worn out. A fresh set of tires is a great way to start the camping season!
Bonus tip: When checking your tires, make sure they are cold for the most accurate tire pressure readings.
Charge & Reinstall Your RV Batteries
Every month that your RV is in storage, your RV batteries lose a small percentage of their charge. As you may know, your RV batteries play a ton of important roles when you’re not connected to power. Batteries power your cooking appliances, water heaters, refrigerators, power awnings, and more. Without charged batteries, you could be dealing with lukewarm food and water all trip long. Yum… lukewarm milk… Here’s what you should do to ensure your batteries are good to go for your next trip:
- Disconnect your RV from electricity to ensure you will get an accurate reading.
- Use a voltmeter to check the charge of your batteries. 12-volt RV batteries will read 12.7 volts when they are fully charged. If your batteries are fully charged, you can skip the next steps!
- Turn off your engine and any internal appliances.
- Use a wrench to remove the cables from the battery leads, starting with the black cable first and then the red cable.
- Check the water level and refill with distilled water if the water level is below the plates.
- Attach the battery charger cables to the battery, starting with the red cable first and then the black cable.
- Plug the charger into the power source and turn it on.
- Allow your batteries to charge completely. This may take a few hours or even a few days depending on the battery size. The charger usually has an indicator light that will tell you when the battery is fully charged.
- Turn off the power and disconnect the battery from the charger.
- Check the water level and fill the battery with distilled water to the correct level.
- Ensure that batteries are reinstalled securely.
Bonus tip: A best practice to extend the lifespan of your RV batteries is to let the batteries discharge only 50% before recharging them. Next winter, try to keep your batteries charged consistently and you’ll be ready to go once the season starts.
Flush & Sanitize Your Water System
One of the best parts about having an RV is the ability to turn on a tap for quick and easy access to clean drinking water on the go, even in the most remote locations! That’s what makes this part of the RV de-winterizing process so crucial. In order to keep your pipes from freezing, you probably added antifreeze to your water system last fall. If you didn’t… you might have a whole different problem on your hands!
Flushing Your Water System
Antifreeze is great for preventing your pipes from freezing but it needs to be flushed from your system in the spring so your water is safe to drink. Here are the steps you’ll need to take to flush your water system:
- Close all taps and install all drain valves.
-
- Drain your fresh water holding tank entirely to remove the majority of the antifreeze and replace it with potable water.
- Turn on your water pump.
- Starting with the fixture furthest away from your fresh water tank, turn on every water faucet one at a time.
- Flush your toilet several times.
- Keep the water running for several minutes, until the water runs clear and all the antifreeze has been flushed.
- Turn off all your faucets and the water pump.
- Perform a pressure test to check for any small, unnoticeable leaks.
- Switch your water heater out of bypass mode and into the summer position (or drain the antifreeze from the water heater tank if it was not in bypass mode).
- Replace all of your water filters.
- Dump your grey and black water tanks.
Sanitizing Your Water System
After flushing your water system, you’ll want to sanitize it to remove any bacteria or mould. Here are the steps you’ll need to take to sanitize your water system:
-
- Close all taps and install all drain valves.
- Find out how much bleach you will need. Measure 1/4 cup of bleach for every 16 gallons of water in your freshwater tank
-
- Dilute your bleach in at least a gallon of water.
- Use a funnel to pour your bleach-water mixture into your freshwater tank.
- Fill your fresh water tank full with potable water.
- Turn on all of your faucets until you start to smell bleach.
- Let the water sit for 12 hours.
- Drain all the water from the system.
- Refill your fresh water tank with potable water.
- Turn on the water pump and turn on all your faucets, keeping them running until you can no longer smell bleach.
Bonus tip: If your water still doesn’t taste clean and fresh after flushing & sanitizing your systems, you can add baking soda into each of your drains to improve the flavour. Be sure to flush your water system again and the taste should eventually improve.
Check Your Propane System
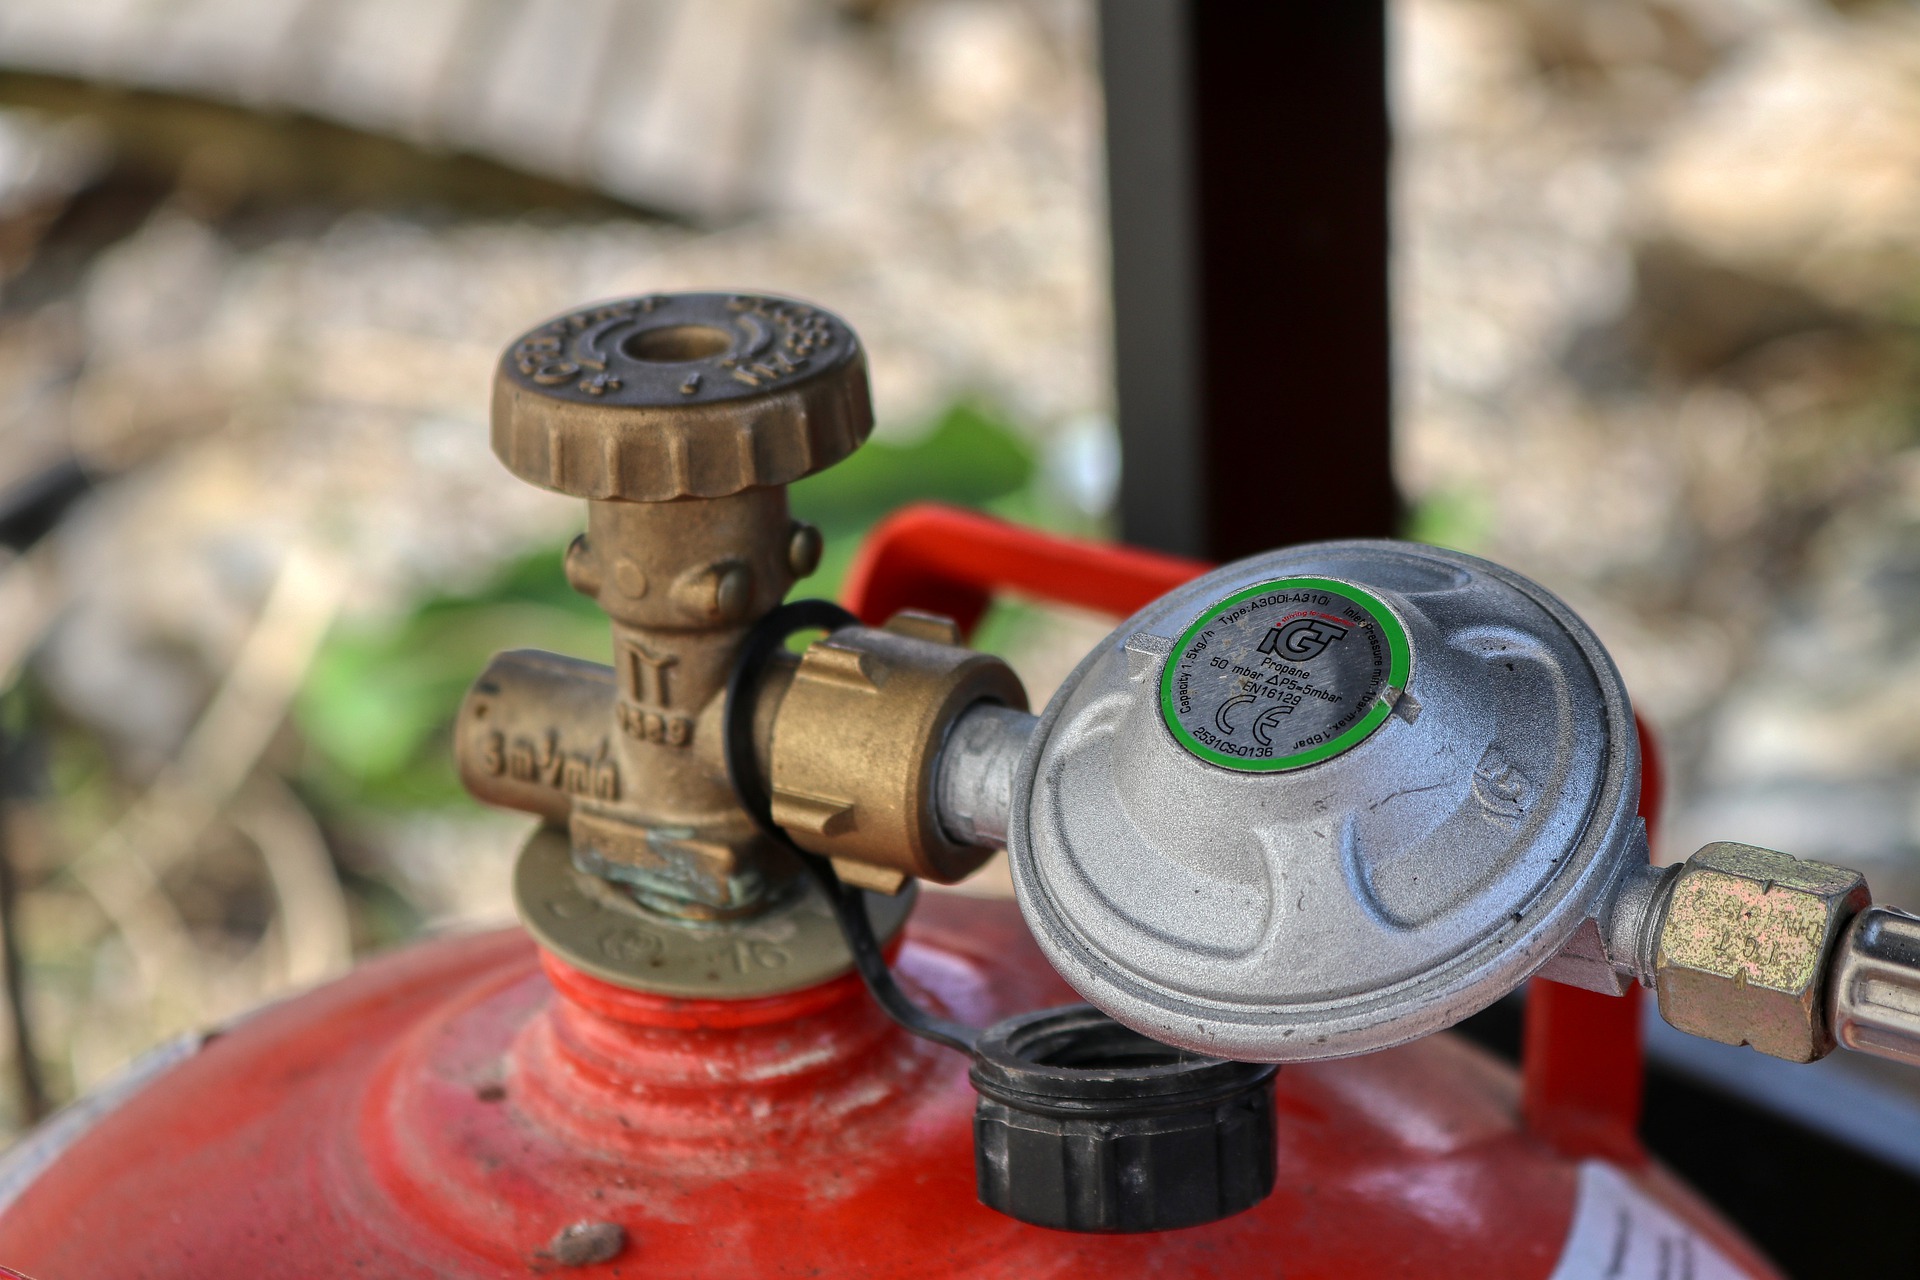
 The final step of this RV de-winterizing checklist is to check your propane system. If your propane system has a leak, you could burn through your propane supply fast and be left high and dry with no propane for the rest of your tip. Uh oh! Not to worry. Here’s what you need to do to check for propane leaks before you hit the road for your camping adventure:
- Turn off all appliances that run on propane.
- Open the propane valves and check for a bad odour. (This smell is added by the manufacturer to help you identify leaks). It’s possible that the smell may have worn away due to rust in the tank. If there’s no smell, proceed to the next step to make sure you don’t have any leaks!
- Apply soapy water or a leak detector solution to the propane valve.
- Slowly open the valve. If bubbles start to form, you’ve got a leak on your hands!
- In case of a leak, make sure there are no flames or sparks, keep light switches and appliances turned off, and keep your phone away from the area.
- If you detected a leak, make sure to get your propane system repaired before your next trip!
Now You’re Ready to Hit the Road!
And there you have it! Once you’ve completed every item on this checklist, you should be all set and ready to go for your first camping adventure of the season! During your RV de-winterizing routine, you may have noticed that your old RV just doesn’t cut it anymore. Maybe it’s old and rundown or maybe there isn’t enough space for your growing family or your new hobbies. Does that sound like you? It might be time for an RV upgrade! At Bucars RV, we love helping our customers find the RV of their dreams. We have a huge selection of new and used RVs to meet everyone’s needs, wants, and price points! Come visit us at our showroom just north of Calgary or contact us today!


