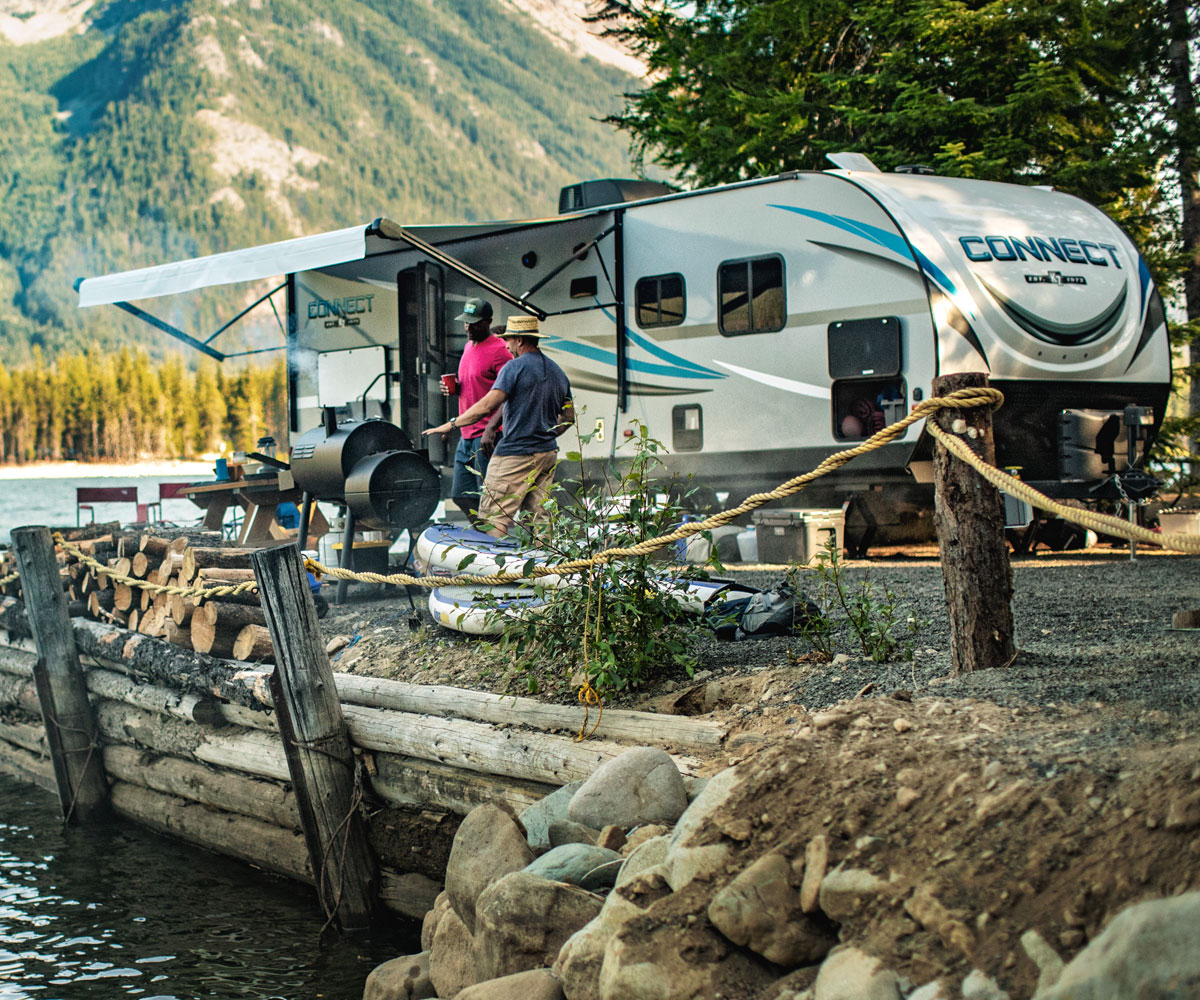
Sadly, the summer camping season is coming to an end. We’re into that all-to-familiar time of year again. The days are getting shorter, the kids have gone back to school, the leaves are changing colours, and the temperature is dropping.
All the memories you’ve made camping with your family and friends are still fresh in your mind, and you’d give almost anything for one more camping trip!
As much as some of us never want summer to end, we need to accept the inevitable and prepare our RV’s for the colder weather that is just around the corner. Winterizing your RV is critical, as any water or fluids left in your RV could freeze and cause pipes to burst or other damage to occur.
To help you prepare for winter, Bucars RV is hosting a handful of drive-thru winterizing events this month and next. Call and reserve your spot for our drive-thru winterization event. Spots are filling up fast so make sure to call and book your spot as soon as possible. Our drive-thru winterization event is on September 14th, 21st, 28th, and October 5th from 9 AM to 3 PM and one of our expert RV technicians will winterize your RV for you, so you don’t have to worry about it!
For those of you that are planning on winterizing your trailer or RV yourself, we’ve created a handy checklist so that you can be ready for the colder seasons.
Things You Need for Winterizing Your RV
Before we get too carried away, you need to make sure you have all of the items you’re going to need for winterizing your trailer or RV. If you need any of these things, the parts department at Bucars RV would be happy to get you everything you need. If you need advice on which products to buy, our RV experts can point you in the right direction!
RV Winterizing Fluids
When winterizing your RV, you absolutely need RV winterizing antifreeze. It’s important to select a good quality non-toxic RV antifreeze for this. The amount of RV winterizing fluid you will need depends on the amount of water in your lines and pipes. The layout, size, and length of your lines are what determines this. Generally speaking, a 2-4 Gallons of RV antifreeze will do, but if you’re unsure, consult one of the RV experts in our parts department.
An RV Water Heater Bypass Kit
This kit enables you to bypass your RV’s water heater when winterizing your RV if bypass valves are not already installed. It’s permanently installed and operates using a single valve that is opened and closed. The idea behind installing this is that by bypassing your water heater when winterizing water lines, you are able to use less antifreeze and save a bit of cash. It’s easily installed on most 6 and 10-gallon water heaters with basic hand tools. If you want to know more about these kits, talk to the RV experts in our parts department when you pick up antifreeze for winterizing your RV.
A Wand for Rinsing Your Holding Tanks
It’s important to rinse out your tanks when winterizing your RV. After a long camping season, debris and other things can get into the tanks and plug them up. You’ll need a wand that you can insert in the opening of the tank similar to this one so you can rinse it out.
A Water Pump Converter Kit
This is an important part of the process. The RV water pump converter kit is essentially a tube and valve that attaches to the inlet side of your water pump. This enables you to pump RV winterizing fluids like antifreeze through your RV and fill the pipes in your water system with it.
Basic Hand Tools
This is key! Most DIY projects require you to have some basic tools to complete the job. Winterizing your RV is no different. You need some basic hand tools to work on your RV and install these kits and winterize your RV.
Steps to Winterize an RV
Once you have all of the items to winterize your RV, we can begin the RV winterization process. We’ve created a step by step guide to help you get it done. This is a pretty comprehensive list that should work to winterize a motorhome, travel trailer, fifth wheel, and almost any RV, but there are always differences from one RV to another. It would be impossible to make a list that worked for every single RV; but if you run into a snag, the helpful RV experts at Bucars are here to help. Give us a call or come visit us in person at our dealership just north of Calgary.
Winterizing an RV Water System
Winterizing an RV water system can be done at home with basic tools and a bit of RV know-how. If you want to tackle this yourself, here’s a handy list of steps to winterize your trailer or RV to help guide you along.
- Drain water from your fresh water tank and leave the valve open.
- Open any low point drains that your RV may have and close them when water stops flowing (Note, not all RV’s will be equipped with low point drains).
- Remove the plug from your hot water heater and let it drain. (Note: Please let the water in this tank cool for at least a day before doing this.) For Atwood heaters, a ⅞” socket is required for drain plug removal. For Suburban heaters, you’re going to need a 1-1/16” inch socket to remove the drain plug.
- Inspect the anode rod in the heater. If the rod is close to the core, it is time for the anode rod to be replaced. Talk to the parts department at Bucars!
- Locate the bypass valves on your RV. Turn the valves in the opposite direction of the one they are currently to open them. There could be one, two, or three valves depending on the style installed by the factory. For quarter-turn valves – the direction of the handle usually shows the direction of flow.
- If your RV is equipped with any water filters, remove them and put them in storage.
- Now you can begin to pump RV winterizing antifreeze into the system. We recommend using a siphon hose or purchasing the water pump converter kit in order to pump antifreeze through the system. This enables the water pump to draw antifreeze from the container and pump it into the system. If you are unable to do this, close your freshwater tank, pour several gallons of antifreeze into the tank, then use the pump to draw from it.
- Pump the antifreeze through all of the cold lines first. Start with the faucet furthest away from the tank – run the tap until you see the antifreeze coming out. Repeat this process for all of the cold taps, then the hot ones (Don’t forget your outside shower!). Your antifreeze jug will need to be changed at least once depending on the size of the RV.
- Once this is done, return the pump to regular use.
- With the water pump turned off, move to the exterior of your RV. Remove the screen from your city water inlet and depress the plunger until antifreeze dribbles out. If you have a sewer flusher, repeat this step and drain the water.
How to Drain your RV’s Ice Maker
During winterizing, the ice maker should be drained and dried. This will prevent water from freezing in the solenoid valve or becoming stale and producing bad tasting ice. Not all systems are the same.. use these steps for guidance but always refer to your unit’s owner’s manual for the correct technique for the fridge in your unit.
- Close the shutoff valve in the water supply line to the ice maker.
- The inlet fitting should be removed from the water solenoid valve. Drain water from the supply line.
- Remove the plastic nut and water line from the outlet side of the water solenoid valve. Do not lose metal insert from plastic water line! Drain water from line.
- Place a shallow pan under the water solenoid valve.
- With pump on, slowly open supply line valve and allow antifreeze to flow into shallow pan then turn off valve.
- Reconnecting will be done in spring during de-winterizing.
- Dry out the ice make mold assembly with a soft cloth. Place bail arm in the “UP/OFF” position.
How to Winterize your RV’s Washer
To ensure freezing does not occur in the washing machine located in your RV it is important to winterize it. Not all systems are the same.. use these steps for guidance but always refer to your unit’s owner’s manual for the correct technique for the washer in your unit.
- Set the water temperature control to warm – this will fill both the cold and hot line with antifreeze.
- Turn on the unit and run about a gallon of antifreeze into the unit (newer units in the last few years require you to wait until the cold inlet opens, stops then the hot opens then stops).
- Turn the control to spin – this will allow the pump to run the antifreeze through itself and then through the drain hose.
If you’ve followed these steps correctly, your RV should be fully winterized! If you want to print this off for instructions while you’re winterizing your RV, you can find a printable PDF here.
As always, if you need help, the RV experts at Bucars RV just north of Calgary have your back. We’re here to help you with any advice, parts, accessories, or service that your RV needs. We want to help you create RVing memories that are going to last a lifetime however we can! Our RV Technicians have decades of experience and can help you winterize your RV or service anything you may need as well!


